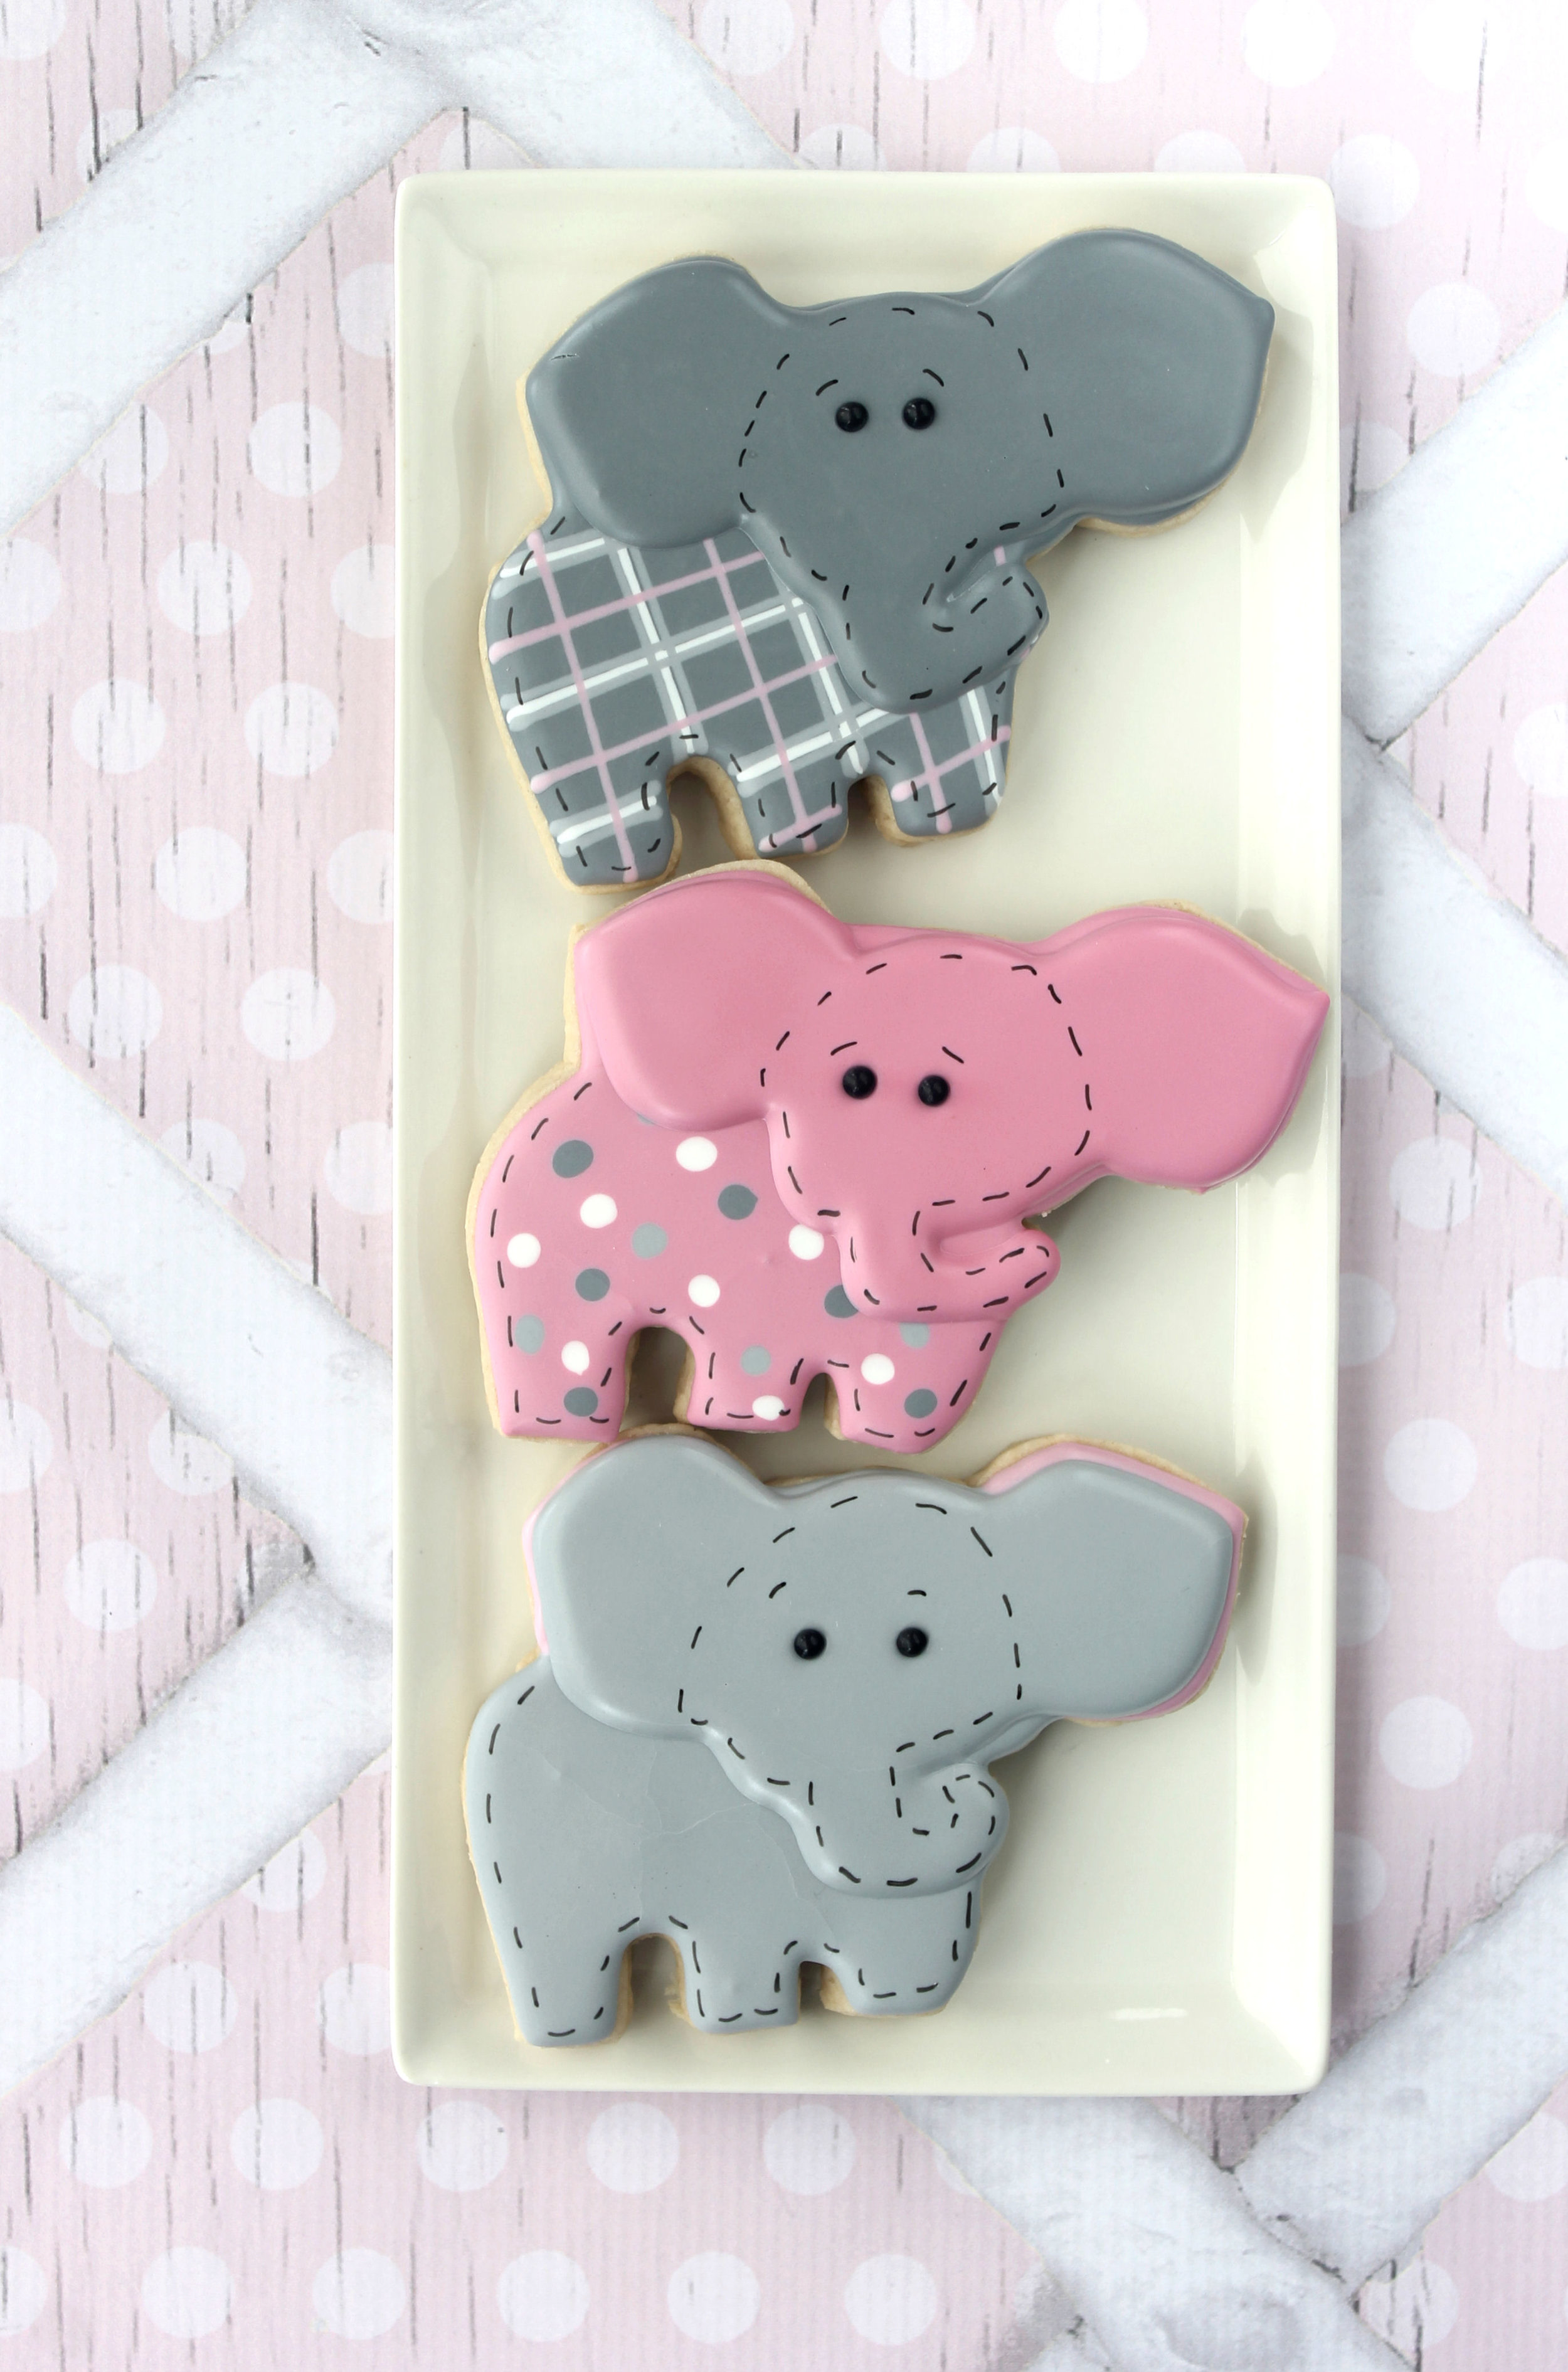
When I was approached about contributing an animal shape for Cookie Cutters for Charity, I immediately knew I wanted to do an elephant. My daughter-in-law was using elephants to decorate for our second grandchild arriving in May 2017. I had already planned to make some cute elephant cookies for the baby shower. So this was the perfect chance to come up with a cute shape for both the shower and the charity event. It was a win win for both!
The entire collection of animal cutters from a host of awesome decorators is now available HERE. There are 17 different shapes and a beautiful booklet sharing about each decorator and their contribution.
100% of the profits from the sale of these cutters goes toward the Helping Hands, Inc ministry in India which teaches underprivileged women some professional baking/decorating skills for a job. What a blessed ministry!
Animal Cookie Cutter Set for Charity
Ellie the Elephant (which is not an original name.....but since my granddaughter is Emmy, it fit) was born.
She's pretty easy to decorate. Just outline and flood the entire shape in the color glaze of your choice. Add a wet-on-wet pattern if desired. Allow it to dry for about 1 hour before adding a second layer for the head, ears, and trunk. (see photos below)
While the second layer is still wet, add two black pearls for her eyes.
And if you are so inclined, add stitch marks and eyebrows with a black edible food color marker.


