corn syrup glaze

Tree Trunk Decorated Cookie (Tutorial)

For whatever reason, I always think of tree trunks and tree bark when I envision a rustic fall setting. Thankfully they are fairly easy to emulate on cookies using texture mats.

Here is where you'll find the tree trunk cutter offered by Ecrandal that I used for these cookies.

There are two varieties of tree trunk bark:

RUSTIC BROWN TREE BARK
Outline and flood the entire cookie with brown glaze.
(see video above to view the details of this tutorial)

Allow the glaze to dry for approximately 4 hours.

Using a bark texture mat, mold the partially dried glaze by pressing firmly on the mat that is laying face down over the glaze.


BIRCHWOOD TREE BARK
Cover the entire cookie shape in dry grey dust.
(see video above to view the details of this tutorial)

Paint over the gray base layer with Americolor Bright White gel.

Use a scribe, boo boo stick, or any other small instrument to carve out random dips, holes, lines, and texture all over the tree trunk.

Brush the carved out areas with dry black dust.


And there you have it......two varieties of tree trunk bark.
Simple and authentic.
 

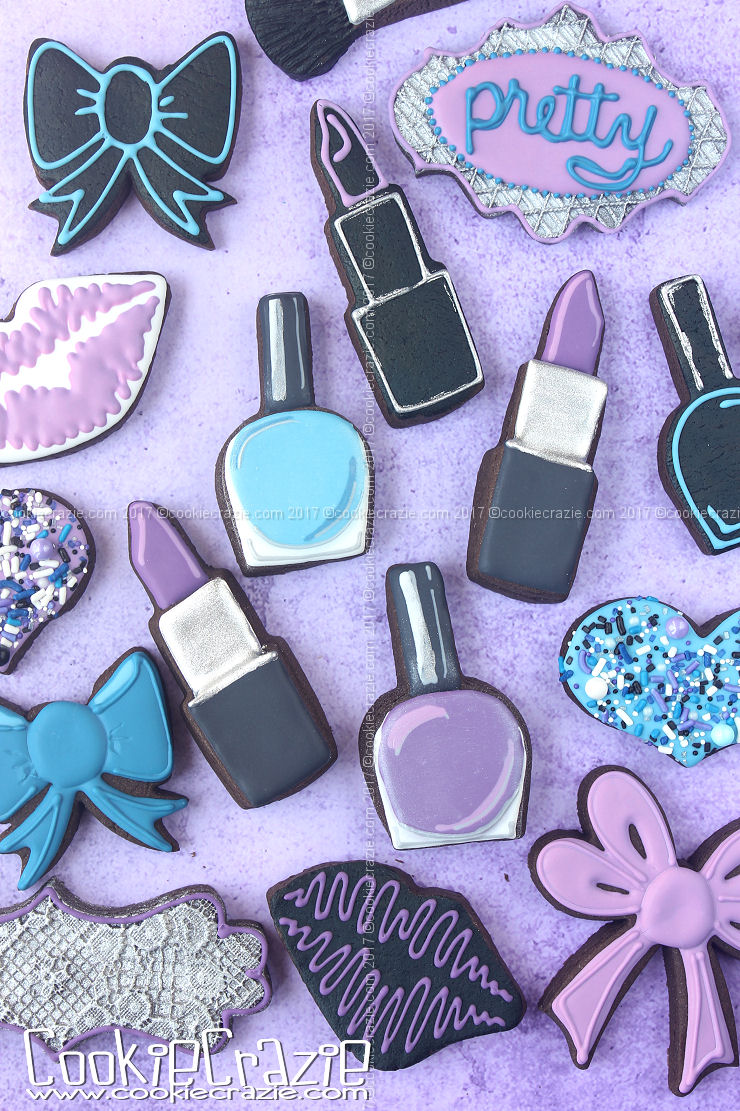
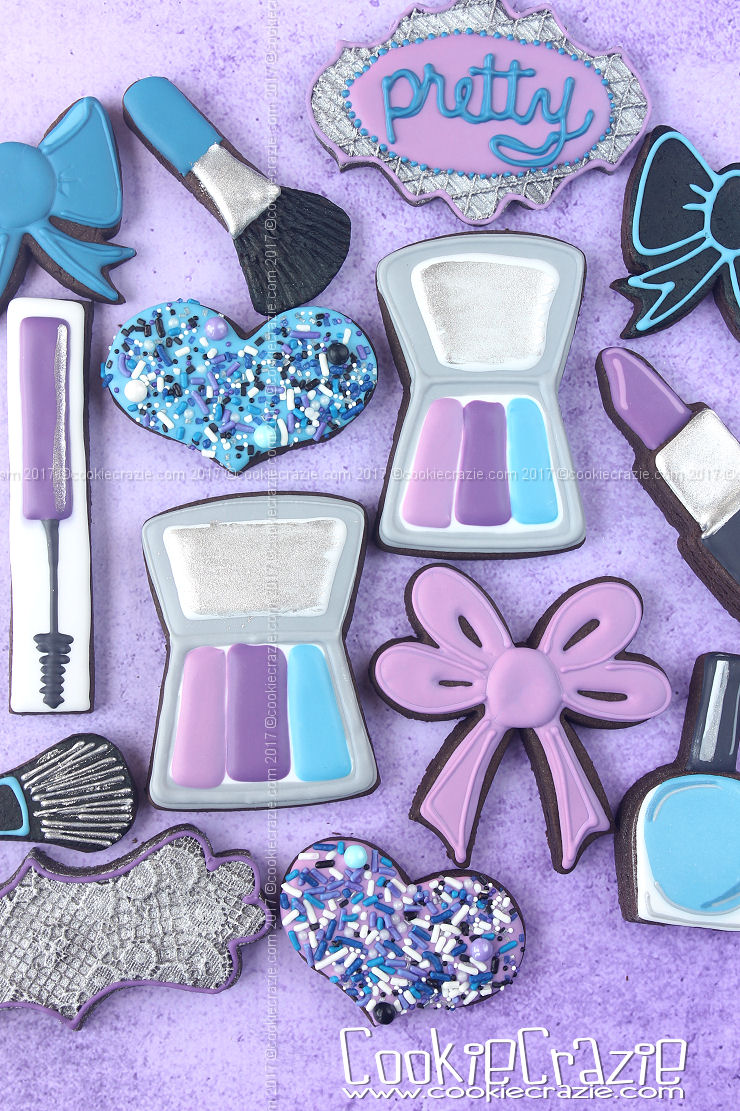
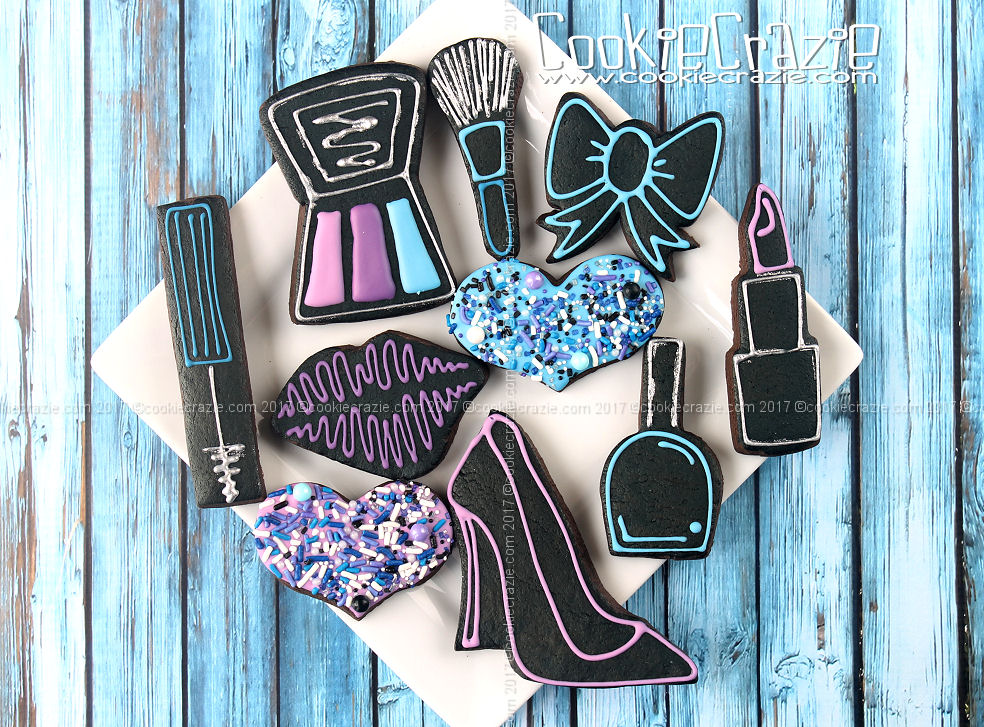
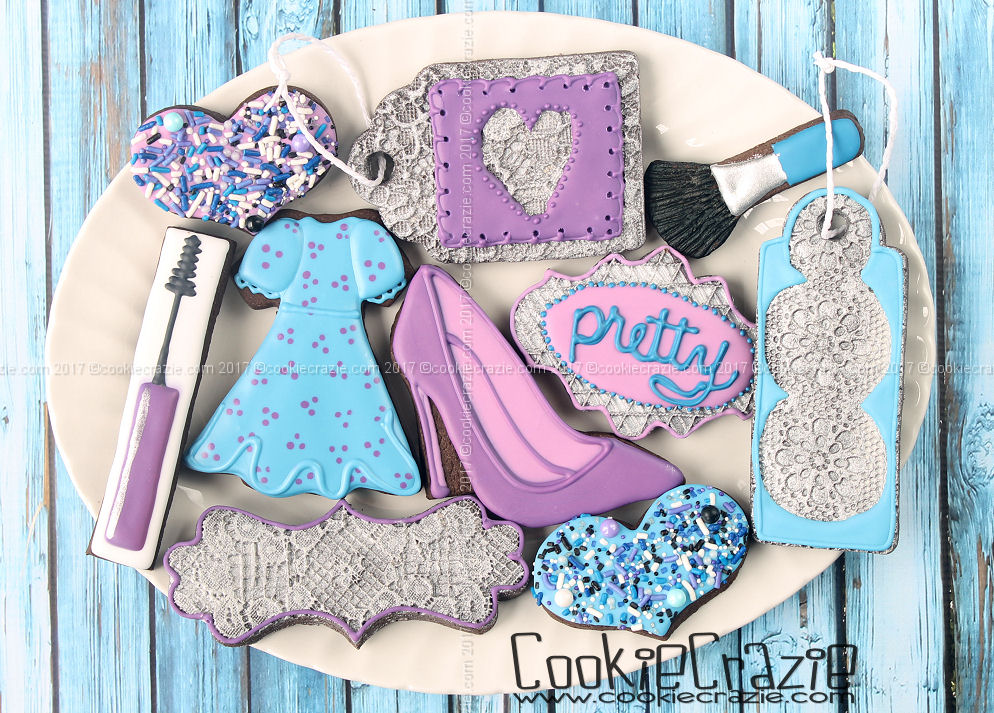
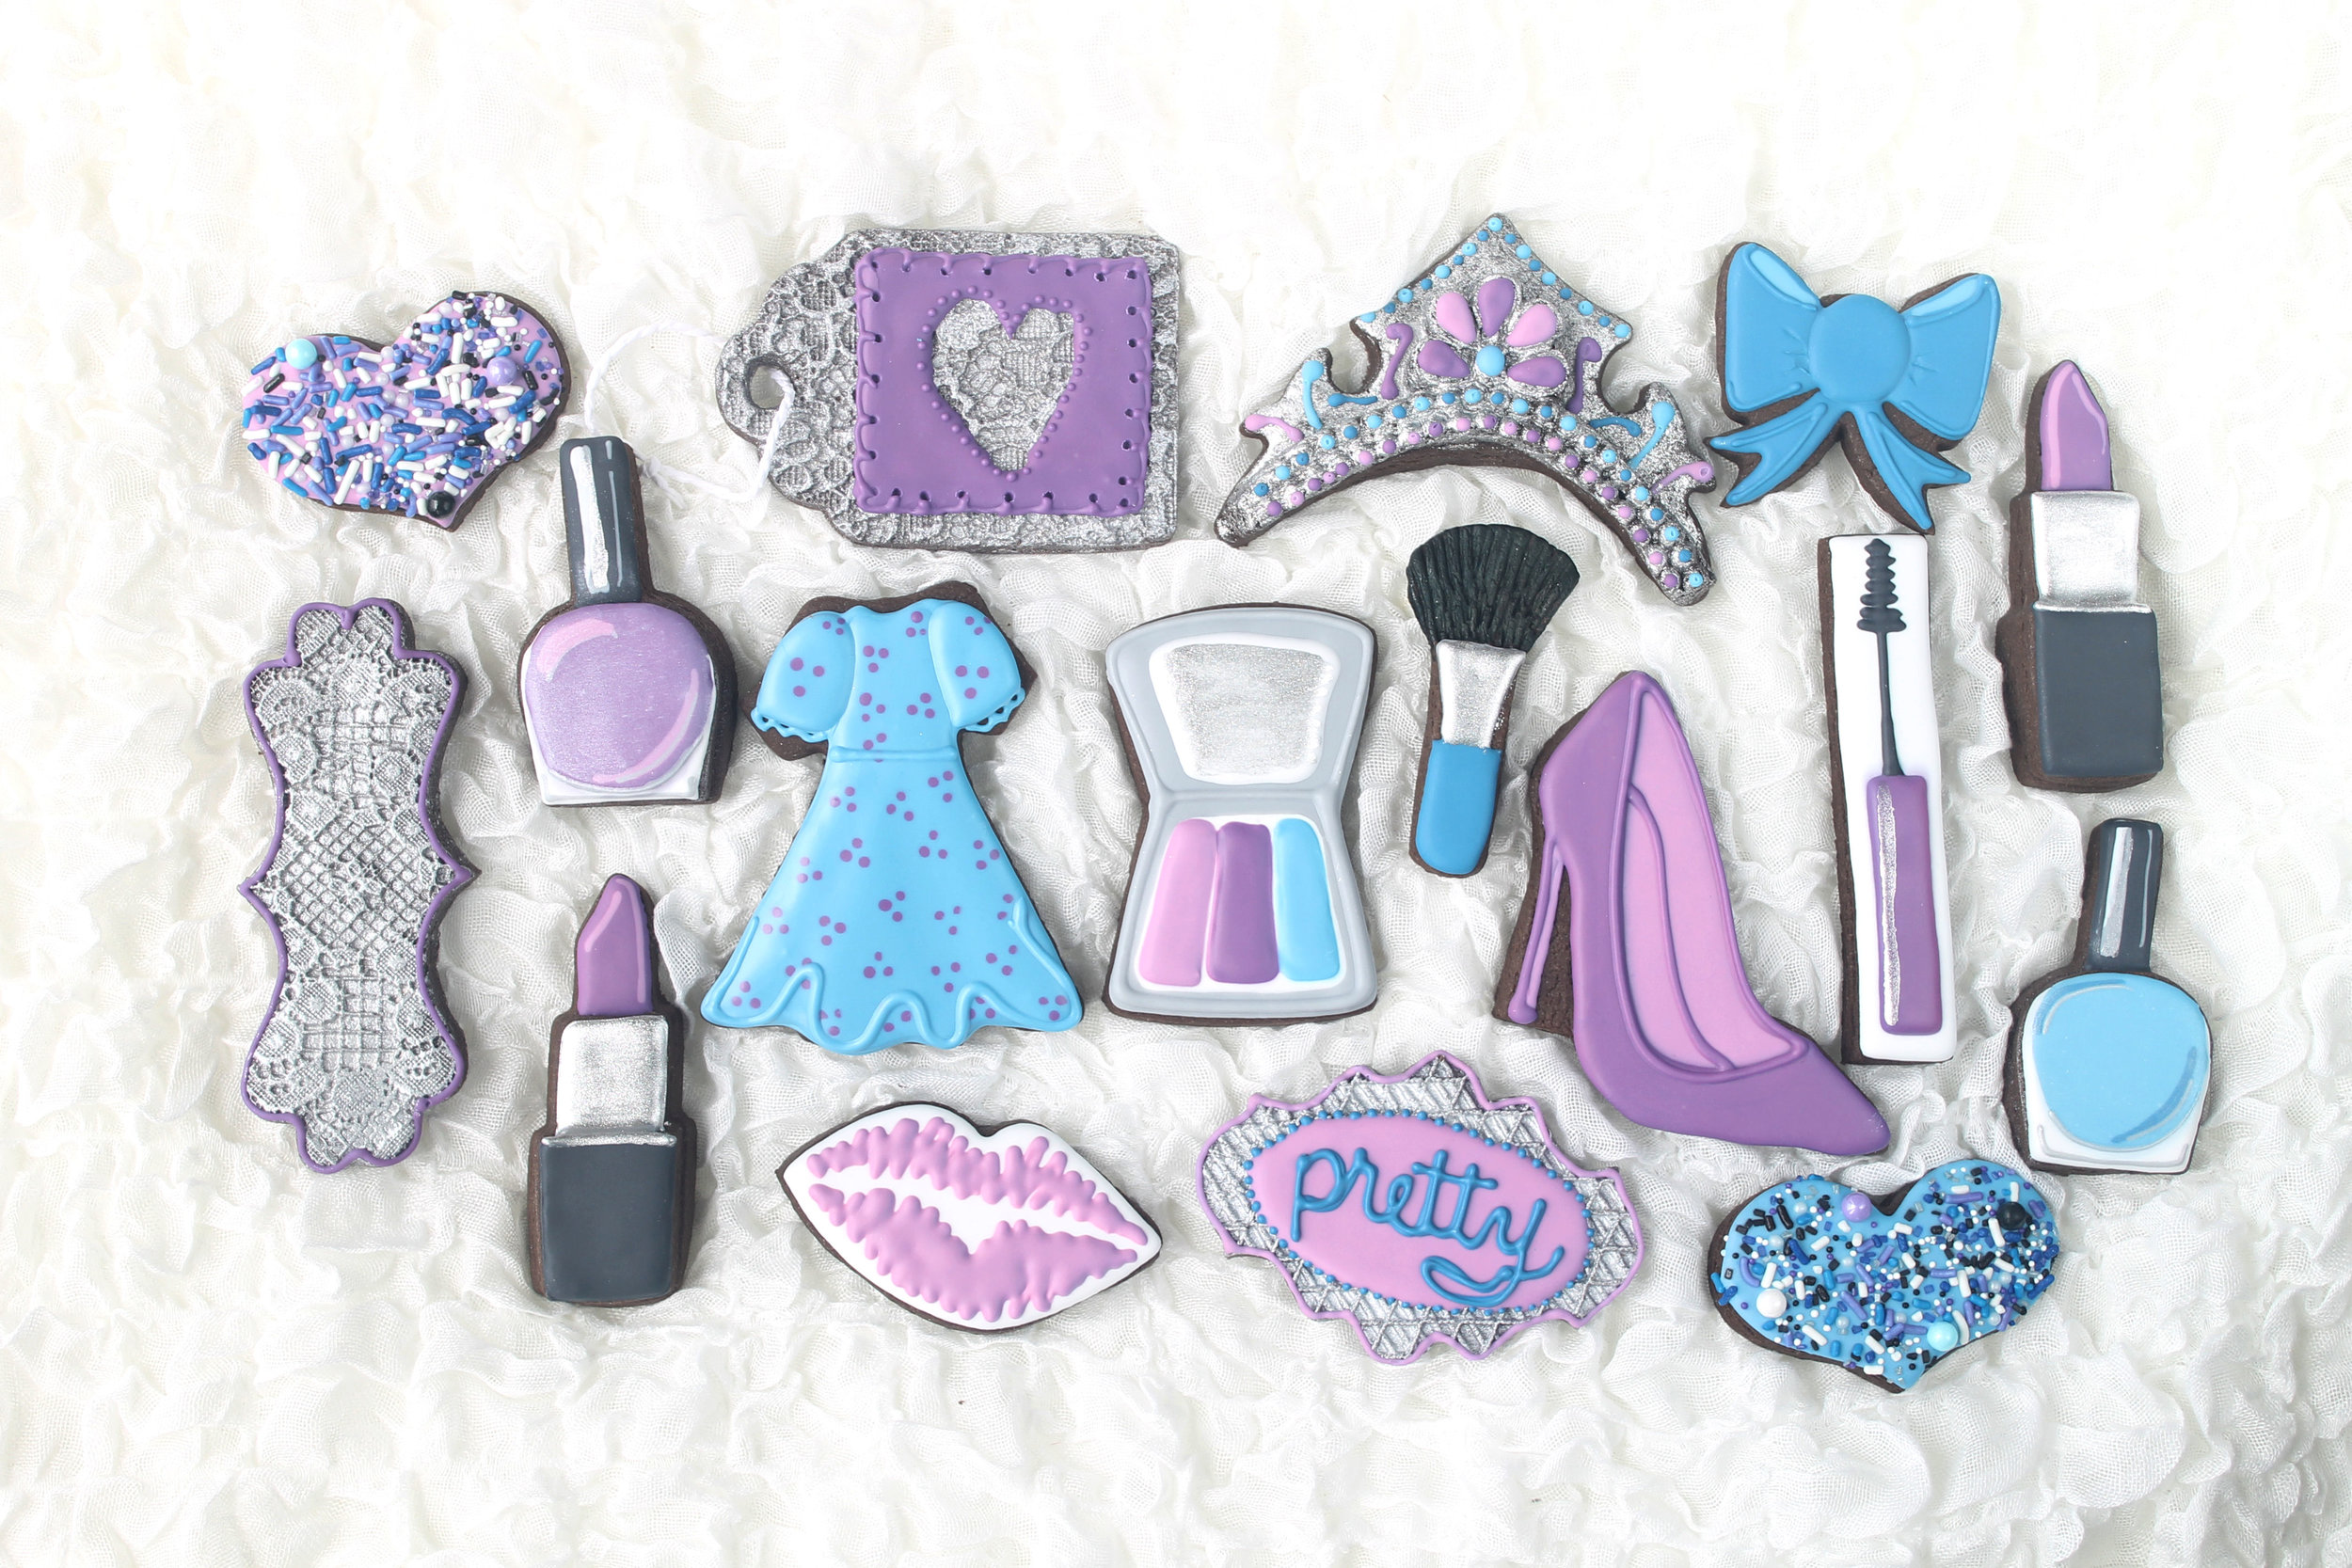
Pretty One Decorated Sugar Cookie Collection

Girls love to be pampered and to put their "pretty" on.

Here's a fun set of cookies to brighten any girl's day.

Let's get our "pretty on".......cookies that is. :)


Lipstick & Nail Polish Decorated Cookies (Tutorial)

Time to make those lips and nails sparkle. 👄💅

These cute cutters can be found HERE and HERE.

While cutting out these two different shapes, cut out extra thin multiplies that can be used to stack on top for a 3D look. As seen below, the nail polish has the rounded bottom of the bottle duplicated and the lipstick has three layers: entire shape, entire tube only, and then the bottom rectangle only.

Once baked and cooled, it is very easy to outline and flood the different layers.
Be sure to add accent lines on the lipstick (lighter purple line around edge) and around the bottle and lid of the nail polish (grey, white, and dark blue).

Allow the cookies to dry overnight.

Brush on dry brilliant sparkle dust to the nail polish bottles.
Paint a silver mixture (Nu Silver dust + vodka or clear extract) onto the middle part of lipstick tube.


Apple Basket & Bucket Decorated Cookies

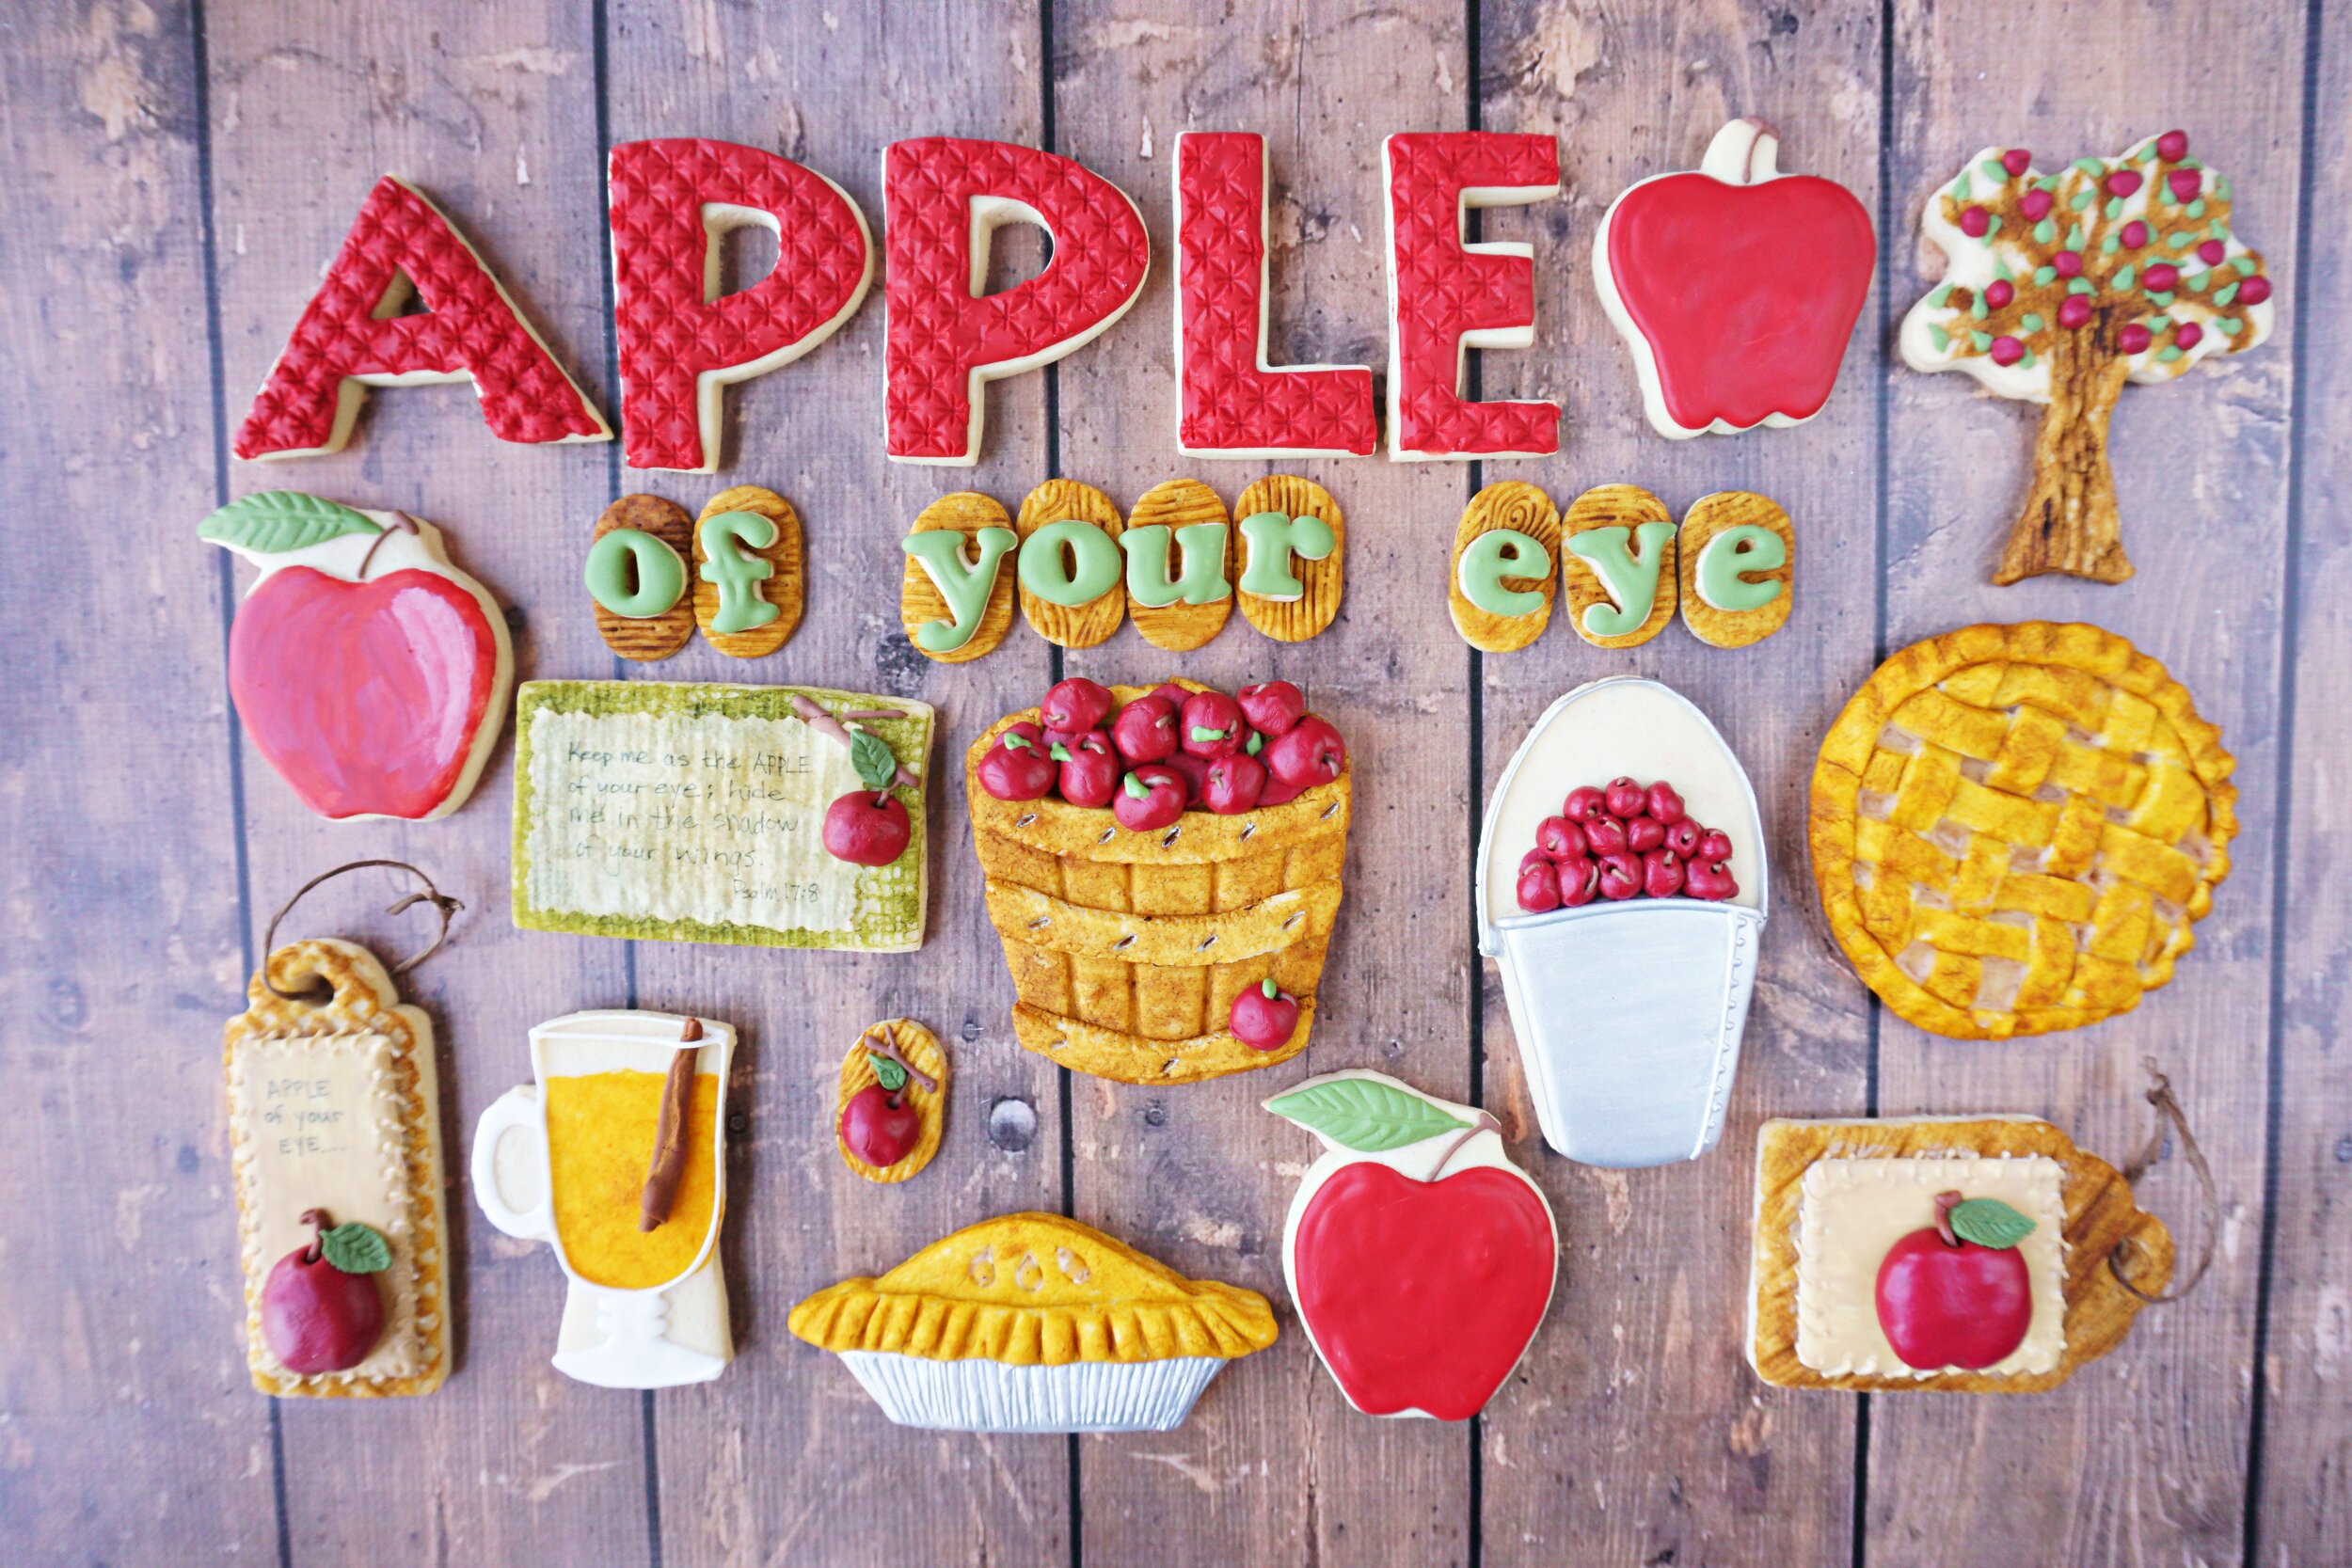
There's something about a pile full of apples in a basket or bucket that just screams FALL to me. I've attempted this shape year after year because I just can't get enough of this look. 

The gift cutter from Sugarbelle's ShapeShifters set is the perfect shape for a basket or bucket full of apples.

To give the metal bucket a more 3D feel, cut out a thinner duplicate, cut off the top of the "bucket" using the curved edger also found in the Shapeshifters set, and lay it on top of the bottom full shaped layer. Roll small "apple" balls and press them firmly into the top of the bucket. (see photo below)

For the basket, first cut out a plain full gift shape. Then using the molded dough method (shown in this blog post), mold thinner dough with a basketweave mat and cut out the same shape, but cut off the top of the "basket" using the curved edger found in the Shapeshifters set, and lay it over the original plain gift shape. Roll small "apple" balls and press them firmly into the top of the basket. (see photo below)

Once the cookies are baked and cooled, brush the molded basket portion with dry golden leaf dust.

Next brush the baskets with dry caramel and/or deep brown dusts to give it a richer hue.

Make a mixture of red rose dust and vodka (or clear extra, i.e. almond) and paint the apples.
[You can also use cut kiwi dust to make green apples, but I disliked the wrinkly-look that was emphasized with that color. It reminded me of brussel sprouts! haha]

For the metal buckets, outline and flood the bucket portion with gray glaze.
[I apologize that I failed to take photos of these steps.]
After at least 30 minutes, add the bucket handle.
Allow it to dry overnight.
Paint the bucket surface with a mixture of nu silver dust and vodka (or clear extract; i.e. almond).

Add stems and leaves to the "apples" in the baskets and buckets.

Since I disliked the painted green apples, I covered the dough balls with green glaze.
After drying them overnight, I dusted the apples with dry caramel dust.
Also, once the silver dust has dried, dust the bucket portion with dry turkish black dust.


Candied Apple Decorated Cookies (Tutorial)

Candied apples......I can still remember as a child when they would appear in the grocery store and the excitement that built knowing that autumn was just around the corner.

Nowadays candied apples have taken on a whole new dessert category with all the gourmet flavors you can imagine. It sure was fun to "spice up" these candied apple cookies and add all kind of yummy treats to them.
 

To make these cookies, it is important to remove any stem on these apple cookies since you're going to put a stick in place of the stem. As seen below, trim the stems off the cookies before baking and carefully push a food grade stick into the top of each apple cookie.

Once the cookies are baked and cooled, make a mixture of red dust (and/or green dust, if desired) and vodka (or clear extract, i.e. almond) to paint on the tops of the apples as shown below.

For caramel apple cookies, outline and flood most of the apple shape with golden brown glaze as shown below. While the glaze is still wet, cover the top with desired topping and shake off the excess. Possible toppings include chocolate chips, chopped nuts, sprinkles, and coconut.

For shiny red candied apples, outline and flood the apple with red glaze as shown below.

After the glaze has dried for several hours (or overnight), paint over the red glaze with a mixture of red "poppy" dust and corn syrup.


Member Login
Welcome, (First Name)!

Forgot? Show
Log In
Enter Member Area
My Profile Not a member? Sign up. Log Out