Lanterns.....they are all the rage right now. It's funny how things come and go in popularity. I remember when my son and daughter-in-law got married FIVE years ago. The bridesmaid "bouquets" were lanterns. I loved the idea of something completely different than just flowers.
So I probably shouldn't go through my house and count how many lanterns I have right now. haha There are several......most have a battery operated candles in them. I love having little "candle lights" all over the house for fall and winter. It makes everything so much more homey and cozy. :)
Here's a lantern cookie tutorial made from this cute cutter from BobbisCookiesCutters.
I've also recently purchased this lantern cutter.....so be on the look out for an alternative lantern design. Yeah!
Refer to the video and photos for this decorating tutorial.
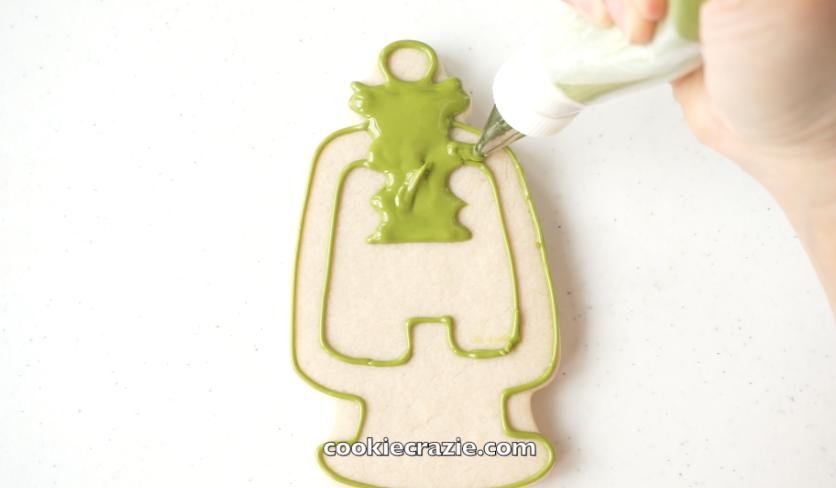
Outline and flood the border and inset of the lantern in your choice of glaze color. Refer to a simpler drawing/clipart of a lantern to help create a more realistic outline/inset.
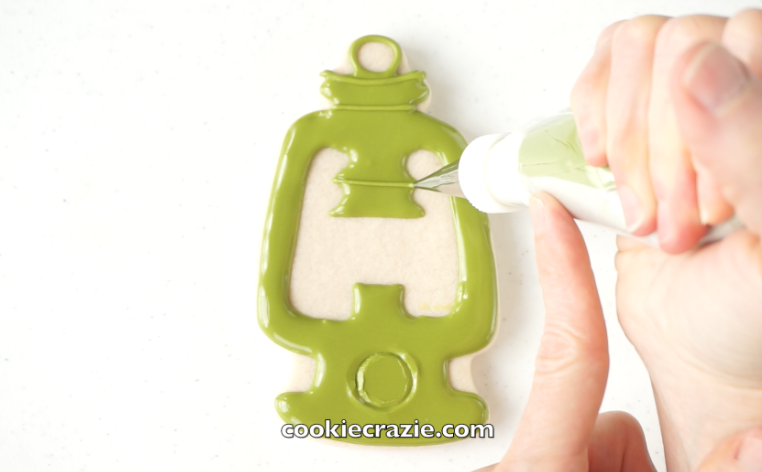
Allow the flood to dry for at least 30 minutes. Press a small round cutter into the base of the lantern to make the control knob seen on most lanterns. Use that impression to outline and flood a circle on top of it. Also, add detail lines from top to bottom on the lantern. (see video for details)
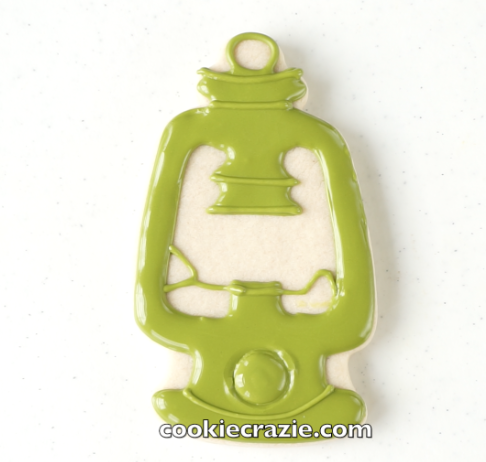
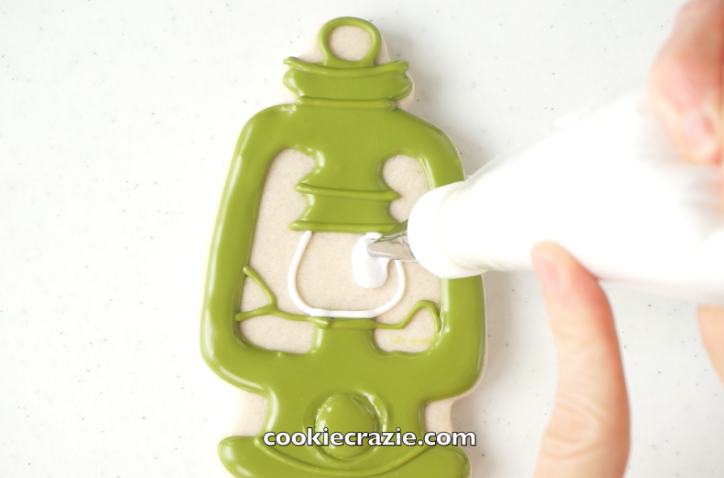
Outline and flood the "bulb" of the lantern with white glaze. (see photo and video)
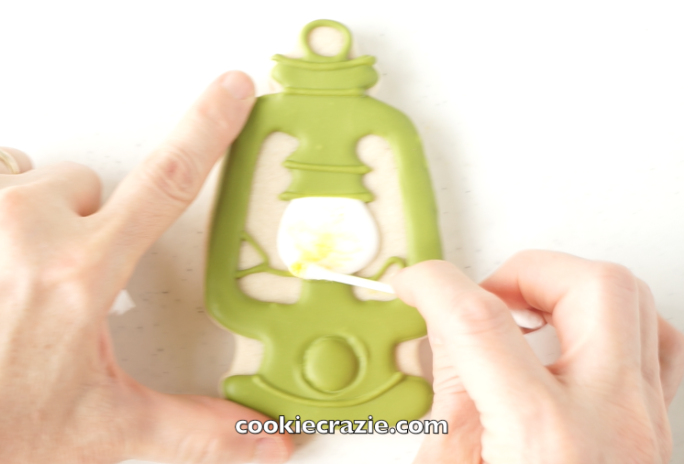
Allow the cookie to dry overnight.
Using a cotton swab, spread dry yellow luster dust within the "bulb" of the lantern to give it a lighted effect. (Dust found HERE)
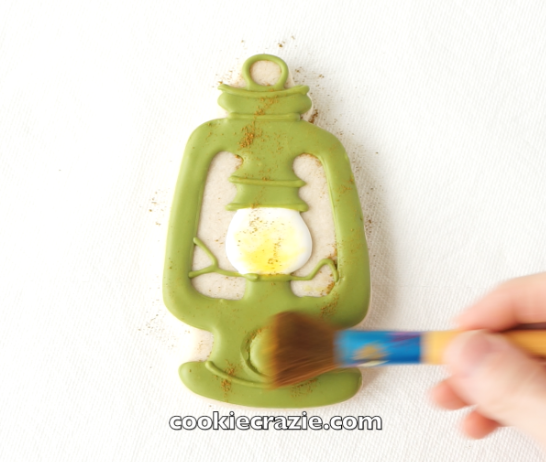
Brush dry caramel dust lightly over the entire lantern to give it an aged-look. (Dust found HERE)
